Getting the perfect heat-styled curl has long been the goal of beauty enthusiasts across the globe. After all, what’s better than a bouncy, voluminous curl that makes your hair look perfectly styled and extra healthy? There are many ways to create curls in your hair, one of the most popular being the curling wand.
If you’ve never heard of a curling wand before or you own a curling wand and want to learn how to properly use it, you’re in the right place! In this article, we will be discussing the best way to use your curling wand to create vibrant, eye-catching curls.
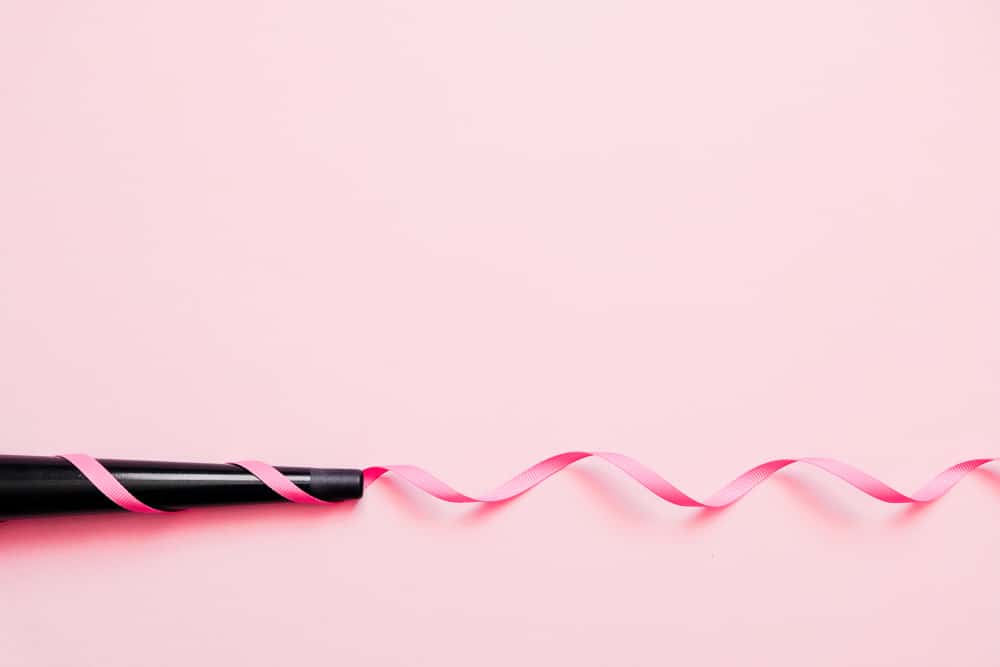
Curling Wand vs. Curling Iron – What’s the Difference?
There tends to be a lot of confusion surrounding the curling wand and whether or not it is different from the also popular curling iron. We’re here to put your worries to rest and assure you that the curling wand is in fact different from the curling iron and will create a different type of curly look.
Unlike a curling iron, curling wands don’t have a clip on them. This means that you have more freedom when it comes to wrapping your hair around the barrel of the curler; no clamping means no awkward line in your hair, greater versatility on how tight or loose you can make your curls, and how much you can spin the barrel around.
Curling wands are also often tapered into a cone, which can help create a more natural-looking wavy curl. While curling irons create polished, tight ringlet curls, a curling wand can help you create loose waves or naturally tousled-looking curls.
How to Use a Curling Wand
Using a curling wand properly can be confusing at first, but with our simple step-by-step guide and a little bit of practice, you can easily learn how to expertly style your hair.
Step One: Prepping Your Hair
To prepare your hair for curling, brush it out, ensuring it is smooth and there are no hidden tangles. You may choose to pre-straighten or blow dry your hair for even easier styling.
Spray a heat protectant all over your locks. This will help prevent any major damage that comes from heat styling.
While you wait for the heat protectant to dry on your hair, heat your curling wand to your desired temperature; this should be lower for thin and fine hair and higher for long, thick, or coarse hair.
Step Two: Sectioning
Now you can start curling! If you have thick hair, you may want to part your hair into top and bottom sections, starting with the bottom. If your hair is thinner, you can just work your way from one side to the next.
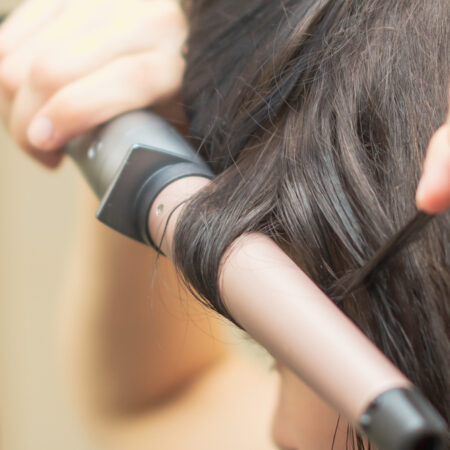
Step Three: Making the First Curl
Hold your curling wand pointed down with the handle up in the air, and at an angle. Take a 1-inch strand of hair out from your first section and wrap it around the curling wand, away from your face, starting close to the root. At the bottom of your hair, leave a few centimeters to an inch of your hair off of the barrel, as this is what you will hold onto while the rest of the strand curls.
Keep in mind that the tighter you wrap your hair around the wand, the tighter the curl will be. For looser, more wavy curls, only wrap your hair around the wand one or two times.
Hold your hair in place around the barrel of the wand for 5 to 15 seconds, depending on how thick your hair is (longer time is necessary for thick hair), and then release the hair by pulling the curling wand directly up.
Catch the resulting curl in your hand and hold it in place for a moment while it cools, and then gently lay it down.
Step Four: Curling the Rest of Your Hair
Continue working your way through the hair in sections, curling one 1 to 1.5-inch strand at a time. Once you have completed one section of hair, move on to the next, being careful not to touch or disturb the already existing curls too much.
Step Five: Finishing Touches
After all of your hair has been curled, gently shake out your roots. This will create a little more volume in the hair. If you want, you can lightly finger comb the curls or brush them gently to create a beachy wave look.
Once you have your curls styled the way you want, set the look in place by applying a light spritz of hairspray all over your locks. From there, all that’s left to do is go outside and rock your style!
If you need help visualizing the curling process even more, you can check out this video on how to use curling wands for beginners.
Customize Your Curling Wand Use for Your Hair Type
When selecting a curling wand to buy or using your existing curling wand, there are some considerations that you should keep in mind to ensure that you do right by your hair.
Short Hair
With shorter hair, it can be a little more difficult to use the curling wand without burning yourself, due to the lack of a clasp on the barrel. That being said, you can use a thinner curling wand that has a 0.5 to 1-inch barrel size along with heat-proof gloves to create perfect curls.
Be sure that you start curling from the root, as this will give you the most volume and stop your shorter hair from looking weighed down by the curl.
Fine Hair
If you have fine hair, it is important that you use a curling wand that is effortlessly temperature controlled; it is easy to damage fine hair with heat styling, so try not to use your wand at a temperature above 350 degrees Fahrenheit whenever possible.
You should also avoid holding the curling wand on your hair for more than 5 seconds at a time to reduce the risk of hair drying out or breaking.
Long Hair
With longer hair, a wider barrel size is usually the best choice. This can help you curl as much of your hair as possible, as quickly as possible. You can also purchase a kit like this one that has multiple sizes of curling wands. This will allow you to use the larger-sized wands to create curls over your entire head, and then to touch up any details with a thinner curling wand.
Thick or Coarse Hair
Thicker or coarse hair can withstand quite a bit of heat when it comes to a curling wand, so you should choose something that can get fairly hot – around 400 degrees Fahrenheit is best.
You should also work in small sections as you curl your hair, as this is more likely to help the curls stay put and take less time overall.
Pro Tips for Making Your Curls Look Natural
These pro tips can help your curls look healthy and natural, no matter what.
Alternate Curling Directions
One of the best ways to keep your heat styled curls looking natural is to change up the direction you are curling your hair in. As you move from strand to strand of hair, twist the hair around the wand in alternating directions. This will give you more volume and allow your curls to look more natural, rather than forming curls that all face uniformly in one direction.
Use Product
Product is your best friend when it comes to styling your hair, and using a curling wand is no different. Add in some texturizing spray or a little bit of mousse before curling your hair to help the curls stay in place for longer.
You can also add some finishing spray or hair oil after your hair has been curled to tame any extra frizziness and keep your curls looking sleek.
Shake Out the Curls
Once your curls are in place, don’t be afraid to shake them out or style them in a way that suits you best. To create more volume and allow the curls to fall naturally, shake your hair out from the root.
You can also flip your hair upside down and give it a shake from the underside before flipping your locks the right side up. This can help give your curls a tousled appearance and create maximum volume.
Curl Your Way to Perfect Style
Using a curling wand may come with a bit of a learning curve, but once you start using this fantastic heat styling tool and practice with it, you’ll discover that creating many different curly looks is fairly simple. Make sure to follow our curling guide and implement some of our pro tips for keeping your curls looking natural, and you’ll be able to easily curl your way to the perfect style.