Blush, bronzer, and highlighter are integral for bringing dimension and color to the face! When you feel tired or pale, a tiny swipe of blush is all it takes to wake you up, and when you want to sharpen your features, the entire trifecta of products will transform you into a fierce vixen ready for her closeup.
Figuring out how to effectively highlight and contour the face takes a fair bit of know-how, but even your blush game will improve with a few of our tips and tricks. Whether you prefer the natural look, the Instaglam look, or something in between, we’ve got you covered, so keep reading.
Why Use Blush, Bronzer and Highlighter?
Your skin has natural color variations that makes it look alive, but the second you pack on the foundation it becomes a blank canvas. Blush, bronzer, and highlighter make the face look healthy and three-dimensional again by adding color, shadow, and highlight.
You don’t have much control over the color or dimension that your face naturally has. That’s mostly ruled by genetics, though your skincare routine, diet, and plastic surgeon might also have some influence. But with makeup products, you’re in charge! You get to decide what goes where and to what effect.
What’s the Difference Between Blush, Bronzer, Contour, and Highlighter?
These makeup products have a lot of similarities, but each one has its own purpose that makes it uniquely useful.
Blush
Blush is one of the oldest makeup items ever used by humans, dating as far back as ancient Egypt, so you’re probably already familiar with it. The purpose of blush is to mimic the flushing that occurs when blood rushes to the face – not the extreme redness you’d develop while running a marathon, but the charming wash of pink that pops up across your nose and cheeks when you’re excited or embarrassed.
Blush also pulls focus. Where you place it will influence how people focus on your features and (depending on how light or dark it is) it can function similarly to highlight or bronzer.
Blush comes in a wide range of shades in the red family, from soft pink and coral to intense burgundy or fuchsia. It also comes in a few textures.
Bronzer
Just like blush mimics facial redness, bronzer mimics a tan. Bronzers come in shades of brown or orange-brown, and they often have shimmer embedded in them, like a two-in-one highlighter and contour.
It’s a product category that first became popular in the 80s when the tanned look was at the height of popularity, but in recent years highlighters and contour products pushed it out a bit.
The term “bronzer” is sometimes used interchangeably with “contour,” and occasionally it’s very hard to tell the difference between the two products, but we make a distinction: bronzer mimics a tan, while contour is intended to shade and sculpt the face.
Contour
Whereas bronzers can have shimmer or an orange-tint, a contour has to be matte and in a neutral or cool shade of brown. Unlike bronzer, contour isn’t supposed to make the face darker or more tanned.
Instead, it’s meant to mimic shadow and to make it seem as though parts of the face are smaller and more hollow. If you’re familiar with the term chiaroscuro in art, highlight and contour work together in a similar manner to alter the shape of the face.
Highlighter
Highlighters bring out certain features by reflecting light, either by being lighter than the skin or by having a shimmer (which also adds a serious glam factor). They make the area where they’ve been applied seem more prominent or closer to the viewer.
How to Choose the Right Blush, Bronzer, and Highlighter
It’s important to keep both color and texture in mind when deciding which bronzer or blush will be best for you.
Choosing the Right Color
When choosing complexion products, the easiest way to make sure they’ll flatter you is to ensure that their undertone matches yours.
- If you’re warm (yellow-leaning), choose warm-leaning products like peachy blushes, golden highlighters, and gold-copper bronzers.
- For cool undertones (pink, blue, or red-leaning), pink or berry blushes, champagne highlighters, and taupe contour shades work best.
- Those with neutral undertones (beige or a mixture of warm and cool tones) look best with colors that are somewhere in the middle, like raspberry blushes and champagne highlighters.
- Lastly, those with olive undertones (skin with a slight green tint) tend to also do well with warm-leaning colors.
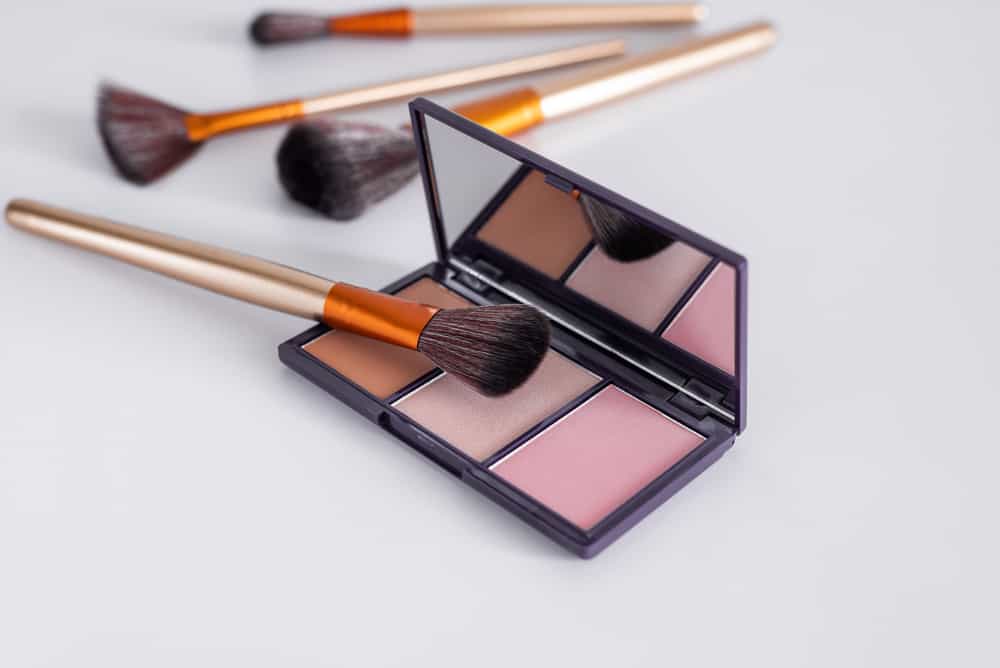
Choosing the Right Texture
All of these products come either as a powder or a cream. You can use both types, but you might find that one suits you better than the other.
- Most newcomers to makeup find powders are easier to control and much faster to apply and blend.
- Cream products are usually better for dry skin since powder formulas can highlight dryness and flakiness while oily skin does better with powders.
- Cream products usually look softer and like they come from within the skin, so they’re nice for natural makeup.
- How much you apply, how much you blend, and how intense the color is will also have an impact. For example, a Kim K-style highlight and contour with concealers is more intense than a light application of powder.
- For a double impact, layer both cream and powder versions of each complexion product.
How to Apply Blush, Bronzer & Highlighter
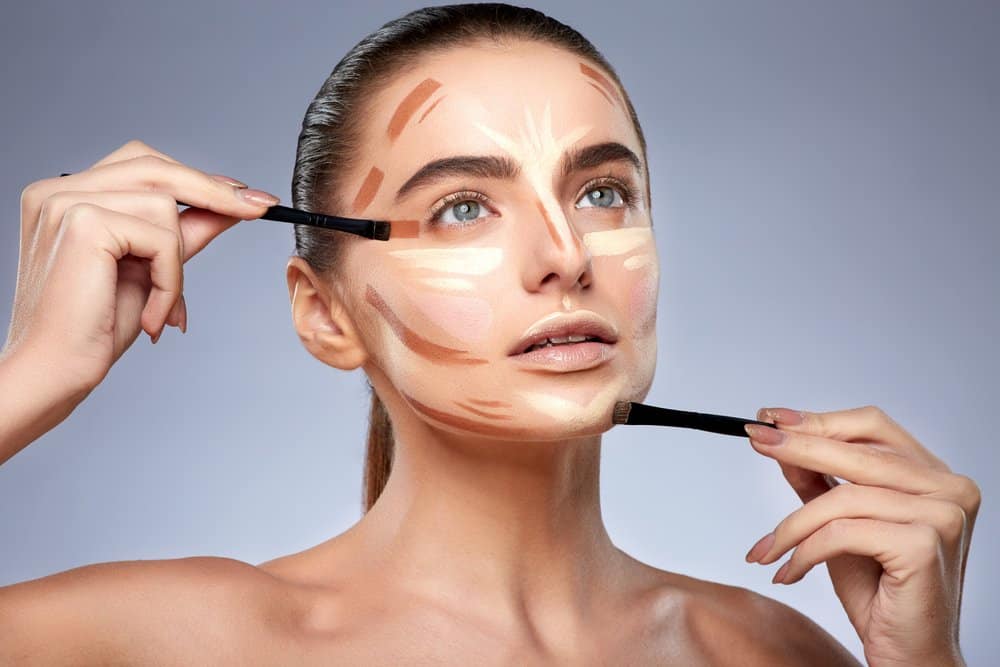
Here’s our guide to a flawless application of blush, bronzer, contour, and highlighter. We included a few tips that’ll help you refine your personal look!
General Tips
- You don’t have to apply all complexion products at once! You can go for a bronzed look without blush, or go for a youthful look without contour.
- Cream versions of products should go on after foundation and before setting powder.
- Powder products should always be applied after your foundation has dried down or been set with powder.
- Always apply cream products with a synthetic brush or sponge.
- Powder products can be applied with both synthetic and natural hair brushes.
- In general, the firmer your brush, the heavier your makeup will apply, and the softer it is, the more diffused it will be.
- The reverse is true for blending. A firmer brush will blend out your makeup more thoroughly than a softer brush.
- Where your brush first comes in contact with the skin is where it’ll deposit the most product, so remember that when deciding from where to start your application.
How to Apply Blush
Getting that softly blushed look is as easy as can be!
- The most universally flattering way to apply blush is along the top part of the cheekbones, very slightly below where your highlighter will go.
- Our tip is to start your application at the highest point of the cheekbone, and then to lightly blend and pull the color inwards towards the apple of the cheeks and outwards towards the hairline.
- For a fiercer look, have your blush move towards the hairline on a sharper angle.
- For a softer, more rounded look, keep the blush closer to the center of your face and on the apples of the cheeks.
- You can even take it a step further and drape it over the center of the bridge of the nose, which is a very youthful look that’s become a popular part of the e-girl trend.
- After applying your blush, blend it out so it looks more natural.
- If your blush is a little too heavy, blend it all over, but if you’re happy with how vibrant it is, just blend along the edges so it merges seamlessly with your skin.
How to Apply Bronzer
Bronzer is versatile, so we have a few suggestions for how you can apply it!
- If you want to look naturally bronzed, apply your bronzer with a soft fluffy brush.
- Traditionally, bronzer is meant to be applied to the points of the face that would naturally be darkened by the sun, like the forehead, cheekbones, and bridge of the nose.
- If your bronzer leans orange or red and is not significantly darker than your skin tone, you can apply it as though it was a blush.
- If your bronze doesn’t have a shimmer and is a little more neutral in color, you can actually apply it as though it was a contour.
- If you have darker skin, a shimmery bronzer might be your perfect highlighter, so follow our highlighter application guide.
How to Apply Highlighter
You’ll feel glowy and ethereal after following our tips for highlighter application.
- Shimmery powder highlighter is best applied with a soft brush for a more diffused look.
- A firmer brush can be used for matte or satin highlighters, while cream highlighter can be applied with fingers or a sponge.
- The highest part of the cheekbone is the signature highlight spot. Apply it slightly above where your blush would normally go, and keep the stripe of highlight thin so its effect is more targeted.
- With a non-shimmery product, you can highlight the center of the forehead and the center of your chin, to draw focus to the middle of the face.
- The bigger the highlight, the bigger your features will look, so apply just a little to make them look smaller or cover more space to make them look larger.
- For a sharp-featured look, add a thin strip of matte highlighter directly under your cheek contour to enhance its effect.
- Add just a touch of highlighter above the Cupid’s bow to enhance your pout.
- To make your nose look slimmer, apply a thin stripe of highlighter down the bridge of the nose.
- You can also connect this highlight to the highlight on your forehead, which elongates the face.
- Another shape you can try is just a small dot of highlight at the tip of the nose (or slightly above it) and a stripe of highlight above it, like an exclamation point. Once blended, it creates the illusion of an upturned nose.
How to Apply Contour
Contouring can be complicated but its impact is worth all of the effort. In the following tips, we simplify it as much as possible and include a few options so you can match your face shape and personal preferences.
- Contour is best applied with a medium-firm or firm brush.
- The main place to apply contour is below the cheekbones, to make them stand out and to make the face look more sculpted.
- Touch your face with your fingers and feel for that hollow under the cheekbones – that’s where your cheek contour should go.
- Start applying from the outer part of the face and pull the brush inwards, following the natural hollow of your cheeks.
- Stop about half-way to the corner of the mouth for a softer look, or angle the contour up in a swoop to emphasize the apples of your cheeks.
- Contour the forehead in a way that will flatter you. For example, you can make the forehead look slimmer and longer by only contouring the temples, or you can make it look smaller overall by contouring its entire perimeter.
- To make your jawline look stronger and more intense, contour just below your jawbone to sharpen its shape.
- To make your jaw look slimmer or more rounded, apply your contour like an eraser over the jawline.
- For a subtle nose contour, use a smaller brush that doesn’t have too much product on it and run it down the sides of your nose.
- For nose-surgery levels of contour, shade in the sides of the nose more heavily. The closer you bring the side contour together, the slimmer your nose will look.
- Once you’re happy with your contour placement, blend everything out gently with a small, clean brush.
- Be careful to blend in small motions so that you just lighten the contour without muddying it or spreading it out too far.
Take Your Makeup to the Next Level
Once you nail down the basic principles behind blush, bronzer, and highlighter, makeup becomes a lot more interesting! Whether your goal is to look like a bronzed goddess, a blushing bride, or an Instagram baddie, they’re an absolute must-have. Once you learn all of the different techniques to use them, you’ll have a new superpower over your face!