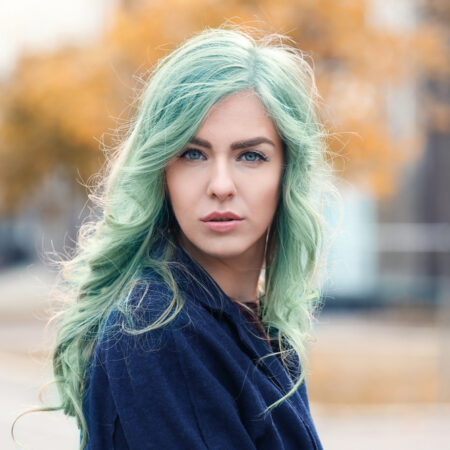
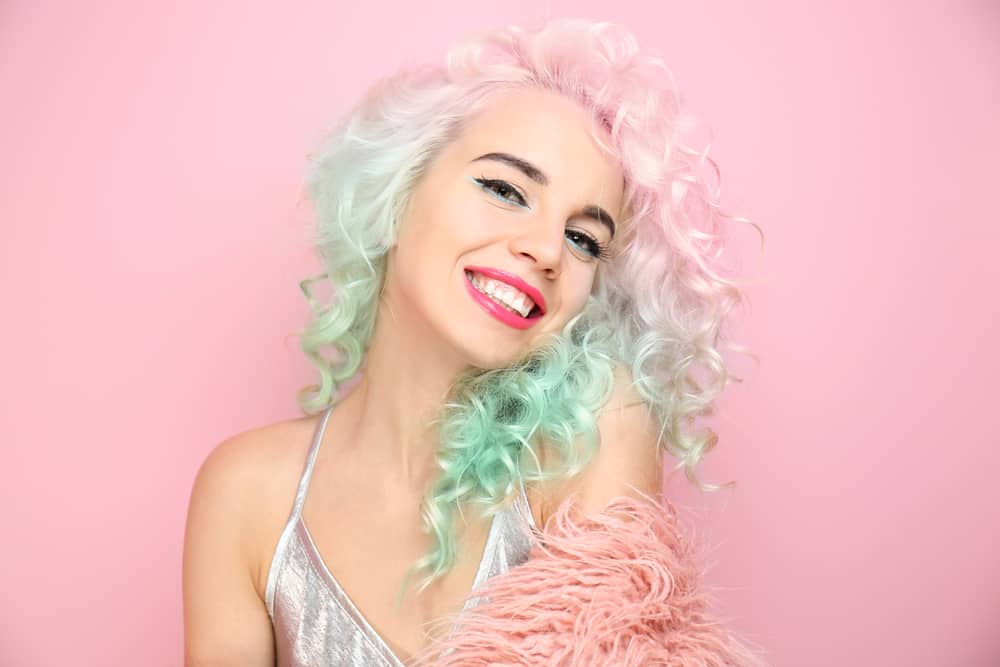
Unicorns, mermaids, and fairy queens, listen up! You don’t have to hide your magic from the world anymore, because pastel hair will bring it out from within you. It takes some effort to achieve light and effervescent pastel hair since it requires both bleaching and dyeing, but it’s worth the work.
Dyeing your hair pastel in a salon can be very expensive, but you can save quite a bit and still look incredible if you do it at home. To help you on your majestic journey to becoming a real-life merfairycorn, we’ve put together this guide to explain everything, step-by-step.
Which Pastel Hair Color to Choose
Pastel hair dye comes in a ton of different shades, so which one will you choose? There are no rules with fashion hair colors, but we do have some suggestions.
Lilac and Lavender
Lilac and lavender are great options for your first pastel hair color because they’re flattering on most skin tones, and they tend to fade very softly, leaving the hair ready to get re-dyed.
Blue and Mint
Blue and mint are a lot of fun, but when they fade away, they can leave the hair looking a little green or even yellow, in a way that most people don’t like. If you choose one of these, you’ll need to refresh the color regularly.
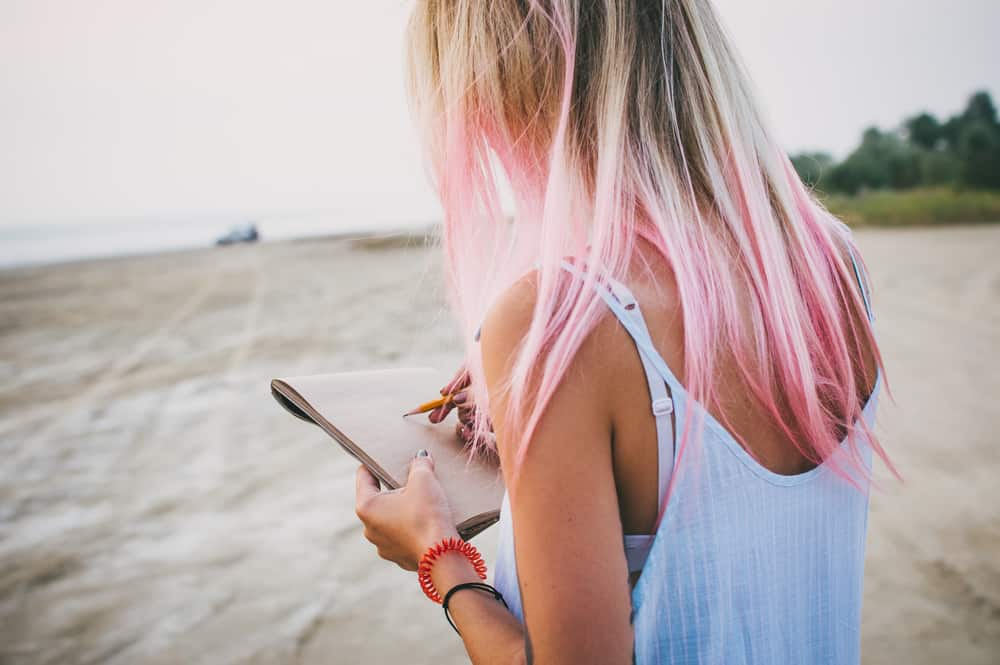
Peach and Pink
Peachy orange and pink are gorgeous, but because they both have red undertones, they also stick around for longer than other pastels. This is especially true if your hair has red or orange undertones naturally. It’s a little harder to get them out of the hair compared to other pastels, so once you give them a try, you might be stuck in this color family.
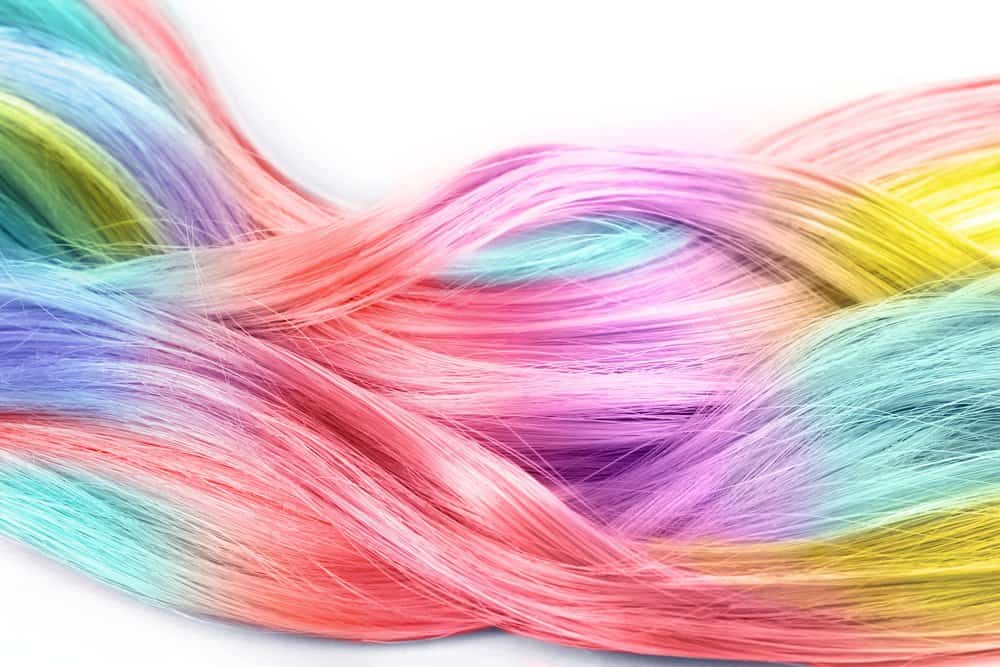
Multi-Color Looks
Multi-color pastel looks require a bit of know-how, especially when it comes to sectioning and foiling the hair, but if you’re into the rainbow look, they’re worth considering.
There are a ton of stunning ways to do multi-color looks, like ombré, balayage, and color melt, but they’re usually best achieved with the help of a professional. Check out our balayage and ombre guide to learn more about these different dyeing techniques.
Bleaching Your Hair
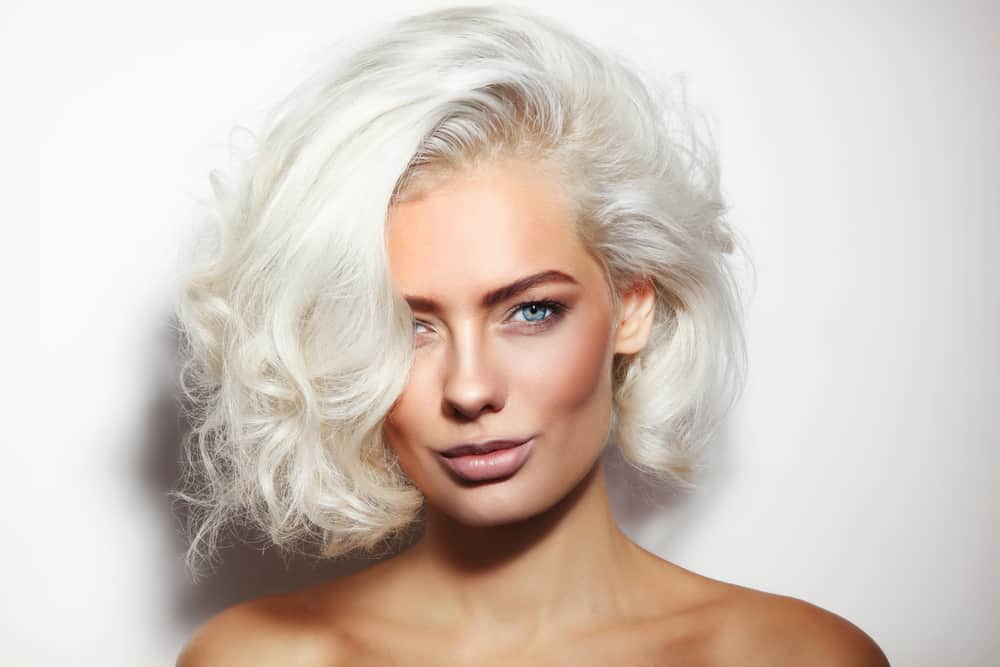
Before you can dye your hair pastel, it first has to be as light as a pastel shade, which means it needs to be platinum blonde. Pastel hair dyes (as well as other unusual colors) deposit color into the hair, but they don’t lighten it. If you want them to actually stick around and show up, you’re going to have to bleach.
Consider a Strand Test
Usually, bleaching will lighten your hair by 3-4 levels, depending on the strength of your bleaching kit. However, hair is unpredictable. Sometimes, bleaching it will also leave behind some yellow or orange tones (especially if you’re starting out with dark hair, which we discuss in more detail below). It can also make the hair very brittle, especially if you overdo it or if you start out with dry hair.
That’s why we highly recommend testing this entire process on a tiny section of hair towards the back of your head, first. It’ll help you figure out if your hair can handle getting bleached in the first place, as well as how long you can safely leave the bleach in your hair or whether you’ll need to bleach multiple times.
Don’t Forget to Patch Test for Any Allergic Reactions
Just as important as making sure your hair can tolerate bleach is making sure you can as well. To avoid any extreme sensitivity, irritation, or allergic reaction to bleach, take the time to perform a patch test before applying it to your hair.
What You’ll Need to Bleach
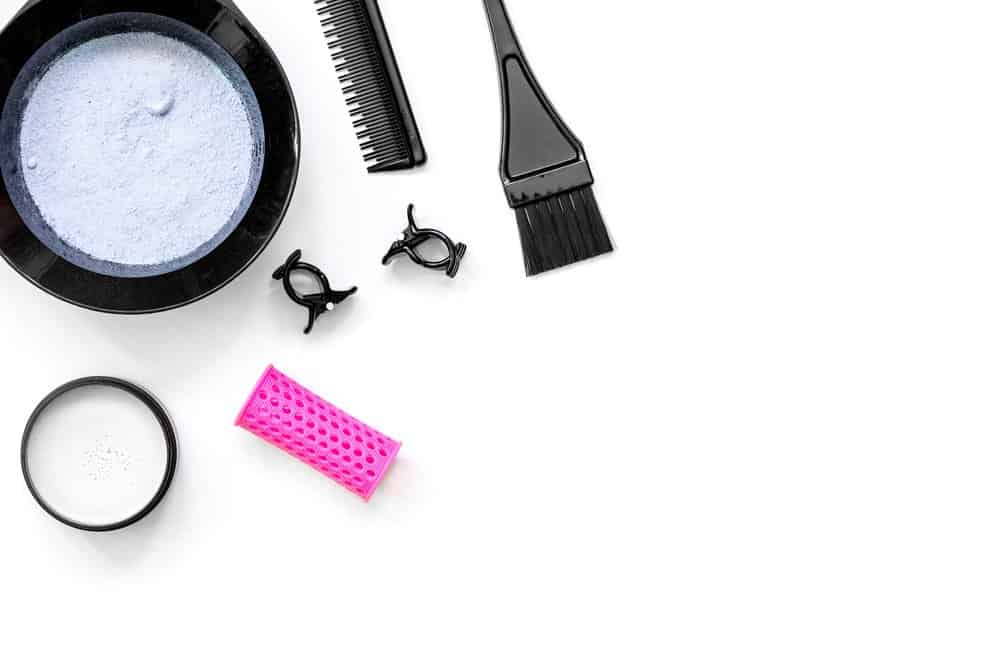
There are a few things you’ll obviously need in order to bleach your hair, like the bleach powder itself, but there are also some essentials that you might not realize are necessary.
Make sure you have all of these supplies well in advance:
- Bleach and a 30-40 vol developer or a bleaching kit that includes those. Check out our top ten hair bleaches here.
- Any hair conditioner
- Plastic or nylon gloves
- Hair dye brush
- Plastic mixing bowl
- Hair clips made of plastic
- Old zip-up or button-up top that you don’t mind staining
- Shower cap
- Spray bottle filled with water
Preparing for Bleaching
It’s best to start with dry, unwashed hair. Even a little greasy is good because your natural oils will protect your scalp. A few days before bleaching, you can even give your hair a deep conditioning treatment to further prevent damage.
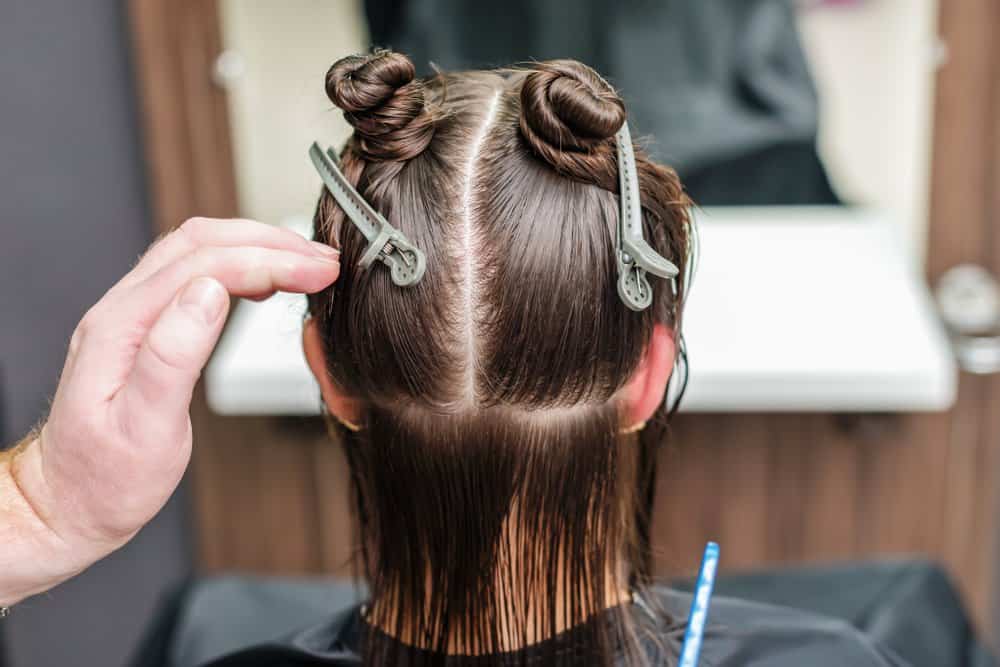
First, gather all of the equipment we outlined above, and make sure you’re not missing anything. Get yourself ready by putting on plastic gloves and an old shirt. Use the pointy end of your hair dyeing brush to part your hair, which will make it easier to apply the bleach evenly.
Sectioning the hair into two front and two back sections is the classic choice, but if your hair is very long or thick, you might want to split it into more sections. Clip the sections up with plastic clips, but make sure to avoid metal ones since bleach is corrosive to metal.
Mixing the Lightener
When you’re ready, mix the powder and developer together. If you’ve purchased a kit, follow the instructions in the box, but otherwise, in a plastic bowl, mix one part of powder with two parts developer, until you get a smooth paste, that from now on we’ll call lightener.
Applying
Next is the scary but exciting part—actually applying the lightener.
- Unclip the section you’d like to start with. It might be tempting to start with the front, but we actually recommend starting with the back. It’ll be a little harder to reach, but if you make any mistakes at the start, they’ll be easier to hide.
- From the section you’ve unclipped, separate out another smaller section, from the bottom, and apply the lightener to it at least a couple of inches below the roots. Use your gloved hands or brush to pull the bleach downwards so it covers from the mids to the ends. Make sure your hair is thoroughly covered and saturated, but don’t try to massage the lightener into the hair, as that can cause a bit of damage.
- Then, separate out the next subsection of hair, and add more lightener in the same way. Keep unclipping sections and applying the lightener to them in even small subsections, until you’ve covered your entire head, except for the roots.
Roots Come Last
The natural heat of your scalp causes the roots to get lighter faster, which is why we save them for last. If you start with them, they’ll end up looking too bright — or maybe even orange.
Once the bulk of your hair is covered in bleach, you can go back and add it to the roots. Alternatively, you can leave the roots bare, and opt for a super-chic shadow root, instead.
Waiting and Washing
Once you’re done applying the bleach, spray your hair with a little bit of water (a tip we got from Brad Mondo) and then pop on that shower cap. Now you just need to wait. We recommend waiting for around 45 minutes or so, to let the lightener do its magic in your hair.
You also want to consider how long the bleach has already been sitting in the back sections of your hair. If the application process took you a long time, you might be ready to rinse the bleach out from the back, while giving it more time in the front.
Either way, once you’re ready to rinse it out, hop in the shower (this is when choosing a zip-up top makes things easier, since you won’t have to pull it over your head). Rinse out the bleach with cool water. If you’re not going to add pastel hair dye right away, then also make sure to thoroughly condition your hair.
Bleaching Dark Hair
If your starting hair color is dark, you might have to bleach your hair two or three times. In that case, we recommend doing this process over the course of a few weeks, to give your hair time to restore itself in between bleaching sessions. Trying to bleach your hair multiple times in one day is going to lead to serious breakage, and you might lose a lot of length.
So sadly, you won’t be able to go from pitch black or dark brown all the way to pastel in one day. After you bleach your hair the first time, you’ll probably end up with an orangey medium-blonde.
At this point, you can use a blue toning conditioner to slightly neutralize some of those orange tones, but otherwise, you’re just going to have to deal with it until you’re ready to bleach again.
Bleaching Permanently Dyed Hair
If your hair is already dyed, especially if it’s a dark, permanent color, then you might be in trouble, or at least you’re in for a much longer process than even brunettes. Before you can bleach your hair, you need to remove as much of the previous dye as possible. Check out our guide to color removers to learn about your options.
Only once you’ve removed most of the color can you consider bleaching your hair. You also need to take into account how much damage removing the color has caused to your hair. If you think your hair could handle a bleaching session, make sure to do a strand test first to really make sure.
If a strand test doesn’t work, and your hair ends up very brittle or turns a strange color, you’ll be better off going to a professional colorist. Alternatively, if you’re patient, just wait for your hair to grow out, so you can start all over again with virgin hair.
Dyeing Your Hair Pastel
After the intense bleaching process, the pastel hair dye will come as a blessing. Not only are most pastel hair dyes gentle and nourishing for bleached hair, but they’re also very easy to use.
What You’ll Need to Dye
For the most part, you can reuse the same tools you used to bleach your hair, although you’ll need to clean a few of them in between. Still, make sure to read this list carefully, since it includes some additional products and tools.
- Your pastel hair dye of choice. We like the Semi-Permanent Hair Dye from Adore, although you might need to mix some shades, as we explain below.
- Hair conditioner
- A pair of plastic or nylon gloves
- Hair dye brush
- Mixing bowl
- Hair clips
- An old shirt
- Shower cap
- Petroleum jelly
Mixing Your Dye
While it’s possible to buy pastel hair dye, it’s actually not mandatory. You can turn any unique semi-permanent hair color into a pastel. For example, if you want pastel aqua hair, you can buy an aquamarine hair dye.
As part of your prep, mix about 4 parts of hair conditioner with one part of dye in a plastic bowl. This will dilute the dye, giving you a pastel. If you want, you can even mix a few colors together to make a custom shade.
Prep and Sectioning
Once your color is mixed, gather the rest of your equipment. Put on your old shirt and gloves, and section your hair into four or more sections. You can also apply petroleum jelly to the skin around your hairline to prevent the dye from staining it.
Dyeing
Pull down the section of hair you’d like to start with. Work on dyeing that section in smaller subsections, by separating out a small chunk of hair, and applying dye to it with the brush.
This time around, you don’t need to worry about hot roots. Just start applying the dye at the roots, and then brush it down to the ends. Then, with your gloved fingers, massage the hair gently to make sure the dye is evenly distributed.
Move on to the next subsection, and apply the dye in the same way. Once that entire section of your hair is covered in dye, clip it up and move onto the next section. Once all of your hair is covered, pop on that shower cap, and allow it to process for 20 minutes or so. You don’t want to leave it on for too long, or else the color may come out too dark.
Rinsing
Once enough time passes, hope in the shower and rinse out the dye in cool water. The Adore dye we recommended above is quite moisturizing on its own, so you won’t need to condition your hair. Get out of the shower, and either blow dry your hair gently or just let it air dry.
How to Care for Pastel Hair
Light pastel hair needs a lot of love. Follow these tips to give it the best care, so it’ll keep its color and stay shiny.
- After you’ve dyed your hair, wait a few days before washing with shampoo. The longer you can wait, the better.
- When it is finally time to wash it, make sure to keep the shower water cool. Hot water will open up the hair cuticle, which will cause the color to bleed out more quickly.
- Choose a gentle, sulfate-free shampoo made specifically for dyed hair, like L’Oreal’s EverPure Shampoo (the conditioner it comes with is also great).
- If your hair gets a little greasy, you can use one of our favorite dry shampoos to refresh it, instead of having to wash it.
- Once your hair starts to fade, you can occasionally wash it with a color-refreshing shampoo, like this one from Punky. Using such a shampoo too early or too often might make your color get darker than pastel, but using it a couple of times a month will give ideal results.
- If the bleaching has damaged your hair a little (or a lot), invest in a bond repairing product like Olaplex, and check out our guide to moisturizing and repairing bleached hair.
Can You Dye Your Hair Pastel Without Bleaching?
Most people will have to bleach their hair first before dyeing it pastel. Unless your hair is naturally platinum blonde, which is extremely rare, any pastel dye you apply to it will either not show up, or it’ll show up looking darker. Lilac will look like plum and mint will look like olive.
How Fast Does Pastel Hair Dye Fade?
Pastel hair dye fades quickly, but the good news is that it’s easy to refresh or to change up. Pastels are very light, so they don’t deposit as much color in the hair as darker or brighter shades.
Because of that, you can expect some color to fade every time you wash it. Thankfully, you won’t need to bleach your hair again every time. You’ll just have to either re-dye your hair with the same pastel shade or use a color conditioner to refresh the color.
Be Your Authentic Pastel Self
By taking your time and giving your hair all of the love it deserves, you can turn your tresses pastel with minimal damage. Yes, bleach is a big part of this process, but it’s essential for achieving those gossamer locks.
With so many different shades of pastel to choose from, it’s a hair color that allows for true creativity. You’ll be able to live your unicorn fairy fantasy in no time!