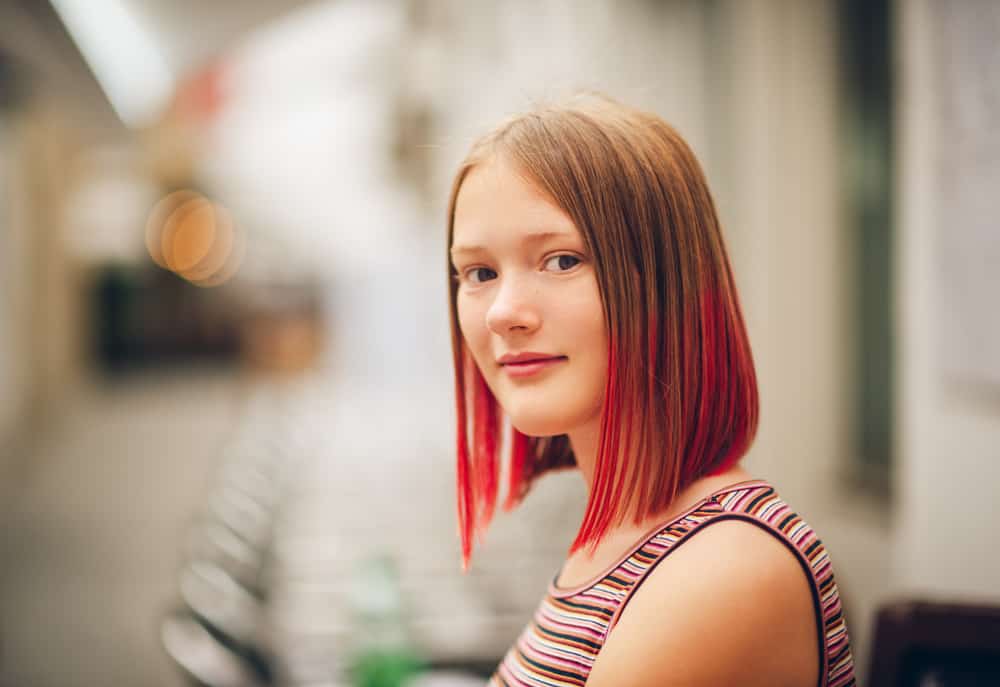
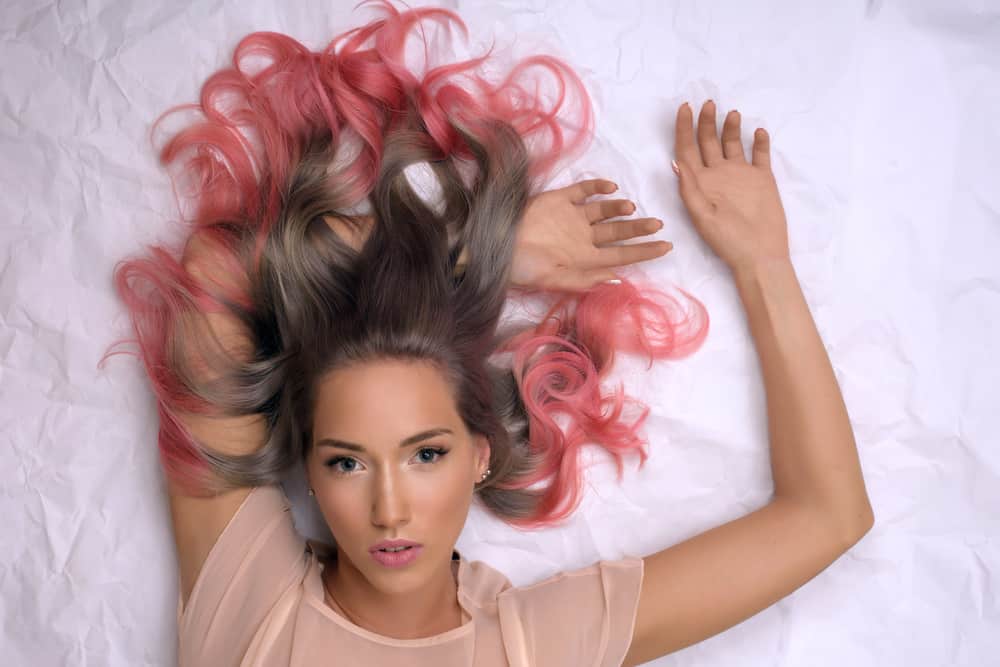
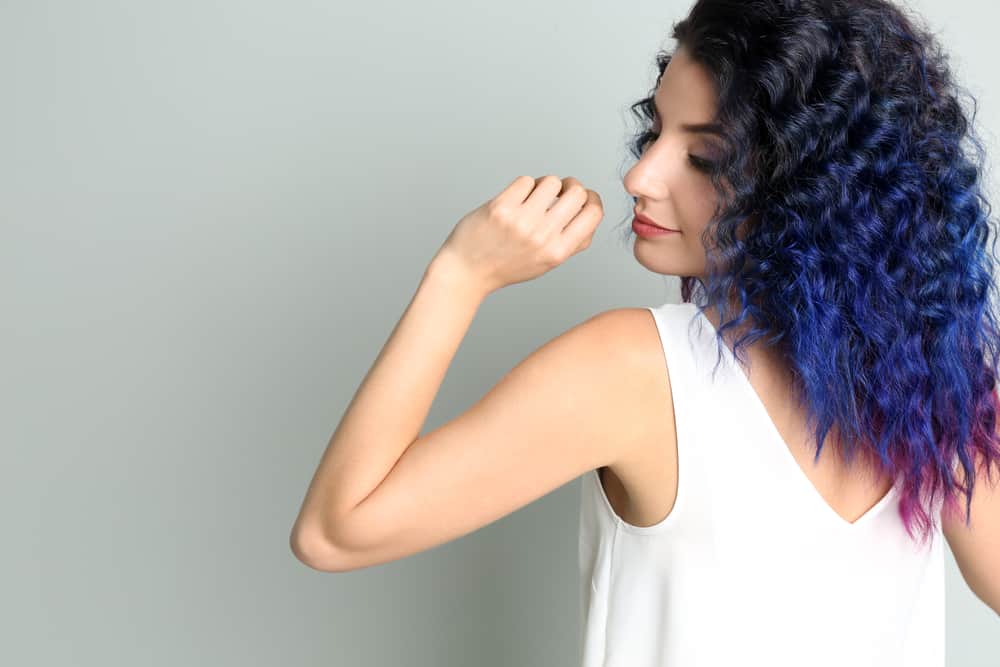
Dyeing the tips of your hair can be a fun way to express your style without committing to the intensive process that is dyeing all of your hair. There are many benefits to just dyeing the tips of your hair that make them a good option: they are great for younger people, for anyone experimenting with different styles, or simply for anyone looking for an easy way to express themselves.
In this article, we will discuss the benefits of dyeing the tips of your hair and give you all the information you need to know about dyeing your hair tips, including a basic step by step guide to help you out with the process.
Things to Consider Before Dyeing
Before you commit yourself to dyeing the tips of your hair, there are a few important things to consider.
Hair Length
When dyeing the tips of your hair, it is important to consider your hair length. Your hair length has a lot to do with how far up the tips you can bring the hair dye and how easy it is to remove the dye from your tips.
For instance, if you have fairly short hair, you may want to be careful about bringing the hair dye too high up your tips, because if you decide you don’t want the color anymore, it can be difficult to trim off the ends without drastically changing your style.
If you have very long hair, you have a little more freedom with how far up the hair ends you can color, but you may want to take caution not to bring the dye up too far, as you may not like the way it looks when it starts to fade.
Natural Hair Color
Your natural hair color is incredibly important to consider before dyeing your hair tips. If your natural color is especially dark, this generally means that you will have to bleach your hair before applying a bright colored dye to it.
However, you can apply brightly-colored dye to dark hair, it will just not show up as vibrantly. The choice is up to you and how you decide you want your hair to turn out.
Chosen Dye Color
The dye color that you choose is another important thing to factor in when coloring your hair tips. If you choose a very light pastel color, you will need to have light hair in order for the color to show up as vibrantly as possible.
If your chosen dye is a darker color, chances are you can apply it directly to your natural hair, no matter the color of it, and have it turn out fairly well.
Style Maintenance
As the dye fades out of your hair tips, you will have to choose between recoloring them or allowing the dye to completely fade, returning to your natural hair color. This can be an especially difficult choice if you bleached your hair, because once the dye fades out, you will be left with the bleached color.
When deciding whether to dye your hair ends, you should make sure that you are prepared for whatever maintenance or upkeep that needs to be done, or that you have a plan to deal with your hair ends once the dye fades out. This will stop you from landing in a situation where you don’t know what to do with your hair tips once the color is gone.
Materials You Will Need to Dye Your Hair Tips
You will need these materials to properly dye the tips of your hair and have the color turn out the exact way you want.
Bleach
If you want to give the tips of your hair a very bright color or a pastel color, the odds are you will need to bleach your hair first, unless you already have very light blonde hair. Bleaching will remove the darker pigments from the ends of your hair and allow them to fully pick up the pigments from whatever dye you choose, making the color more vibrant.
A powder bleach mixed with a 30-volume developer is recommended for most hair types; 30 volume developer will give you between 3 and 4 levels of hair lift, which should be enough for darker hair colors to become a light yellow.
If you have very dark black or brown hair, you may need to bleach your hair twice in order to get it super light before applying your hair dye.
Colored Dye
Choosing the perfect colored dye is one of the best parts of coloring your hair tips. The dye you choose should be semi-permanent, as this will give you the best coloring and will eventually wash out, so you are free to recolor your hair tips in different colors.
You can also choose two different colors and mix them together for a uniquely tailored color, or you can create pastel colors by adding a little bit of conditioner into your hair dye, diluting the color. We recommend using something like Arctic Fox, as they are relatively affordable, easily mixable, and offer a wide range of unique coloring options.
Dyeing Equipment
You will need several items of hair dyeing equipment in order to make the process the smoothest it can be. A hair dyeing kit covers most of what you’ll need: old clothing you don’t mind getting stained or a covering cloth, hair clips to keep hair out of the way and hair ties for creating pigtails, gloves for protecting your hands, a mixing bowl, a hair coloring brush, your chosen dye, and, optionally, your chosen bleach, developer, and aluminum foils.
Foils can help your hair pick up pigments faster and more vibrantly, and can be helpful when used on dark hair, but they are totally optional and not always necessary to create a fantastic style.
Step-by-Step Guide for Dyeing the Tips of Your Hair
Once you’ve gathered all your materials, you can follow this step by step guide for dyeing the tips of your hair. Keep in mind that this is just a general guideline and you should read all instructions on your products before applying anything to your hair.

Preparation
Before dyeing your hair tips, you need to make sure the ends are ready for it. If you are bleaching your hair, this should be done before applying hair dye. This can be done a day or two before the dyeing process, but it is typically better when done on the same day, as you will better be able to ensure you bleach and dye the exact same areas.
To bleach your hair ends, pull your hair into two even pigtails. You may need to use four pigtails if your hair is especially thick or coarse.
Mix your bleach according to the directions in your mixing bowl and used gloved hands or a coloring brush to apply it to your hair ends; the ends should be fully saturated and as evenly coated as possible.
Use your fingers to move a little bit of bleach up from the hair tip, creating a blending effect with the rest of your natural hair. You can complete this step with foils by putting the hair tips inside of the foil, applying bleach, and then securely wrapping the foils.
Once the bleach has been in your hair for the recommended amount of time, wash it out of your hair using cool water and shampoo. Your hair should now be light enough to move on to the next step.
It is important to note that you will only need to bleach your hair if you are dyeing it a bright color, have very dark hair, and want the color to be very vibrant. You can apply lighter, bright colors straight to darker hair, but they may be more muted.
Additionally, you can apply dark hair dyes to both light and dark hair without bleaching and still get nice results. Check the dye guide on your product for an estimate of what the color with look like on your natural hair color.
The Dyeing Process
Once your hair is fully prepared for dyeing, you should separate it into two or four pigtails. If you previously bleached your hair, use the same pigtails that you had in when bleaching; don’t undo or redo them or you may not get an even coloring over your bleached areas.
After your hair has been placed in pigtails, mix your dye according to the package instructions. If you are going to combine colors or dilute any color with conditioner, do this now.
There are two ways to apply the dye to your hair. One is to use a hair coloring brush to paint the dye onto your hair tips, the other is to dip your hair tips directly in the mixing bowl of dye. Either way, you should aim to get a thick, even coating of dye on your hair.
Once the dye is on your hair tips, gently twist the bottom of your pigtail, moving the dye up your hair a little bit. This will create a blended look and prevent any type of harsh line from forming. Alternatively, you can use your fingers to lightly move the hair dye up away from your tips, blending the dye with your natural hair color.
If you so choose, you can wrap the dyed hair tips in foils after all of the dye has been applied to encourage faster processing time.
After Dyeing
Leave the dye on your hair tips between 30 and 45 minutes. If you are putting the dye on very dark hair, you should aim for 45 minutes. Very light hair may need only 30 minutes, but you can leave it on longer to achieve a brighter color.
Once you have waited the recommended amount of time, wash the dye out of your hair tips with cool water until the water runs clear. Don’t shampoo your hair for at least 24 hours after dyeing it, as the shampoo will strip the pigments back out of your hair tips.
After rinsing out your hair, you can air dry it and style it as you wish! Keep in mind that you might see some color transfer on fabrics when your hair is wet, but this should stop within 2 or 3 days of dyeing your hair.
Common Dyeing Mistakes
These common issues can appear as the result of a simple mistake or a missed step, but there are ways to remedy the situation.
Color Doesn’t Show Up
If your chosen dye color is not showing up on your hair, the color may be wrong for your hair type, or your natural hair color is too dark.
For example, if you are trying to get your ends pastel pink but you are starting with dark black or brown hair, you will need to bleach first before applying the dye.
If you are trying to get a bright red color but are applying it to light brown hair, the color may come out darker and less vibrant.
In order to understand what went wrong with your color, you can learn about color theory here. This will help you determine if your hair needs to be bleached before applying dye (which it probably will if you want a bright color and you have dark hair) and what dye colors will complement your natural hair color.
Color Washes Out Immediately
If the dye that you’ve put into your hair washes out immediately, you may not have left it on long enough. This is especially common with hair that doesn’t hold color well, such as compromised hair, grey hair, or very dark hair (if you are applying a bright dye).
To fix this, try applying the dye again and leaving it on for as long as possible, and then rinsing it out with cold water. This extended time will encourage the dye pigments to sink into your hair.
Patchy Coloring
If the coloring of your hair dye has come out looking uneven or patchy, it is likely that you didn’t saturate the hair enough with dye or you didn’t apply the dye evenly. When dip-dyeing, you can use your gloved hands to work the dye through your strands, ensuring that every piece is fully coated with color. If you are using a color brush, make sure that you are applying enough dye to the hair strands; your hair should look visibly weighed down and saturated with color.
Separation Line
A separation line between the dye and your original hair color will occur if you didn’t not blend the dye into your hair enough. If you simply dip your hair in dye and then leave it like that, you will get a harsh line on your hair.
Make sure to twist your hair to blend the dye with your original hair color or use your fingers to bring the dye up your hair strand a little bit, adding some blending. This will prevent a line from forming and make the dyed tips look more natural.
Caring for Your Dyed Hair Tips
After your hair tips have been dyed, there are a few things you can do daily to help preserve the color and improve the health of your hair.
Avoid Heat Styling
This step is especially important if you ended up bleaching your hair tips before dyeing them. Bleaching is already a damaging process, and adding more potential damage in the form of heat styling can cause your hair to become frizzy and unhealthy. Even if you didn’t bleach your hair, it is a good idea to avoid using heat styling tools on colored hair simply because of the risk of damaging it.
Skip Wash Day
Semi-permanent dyes, which are what you will most likely use to color your hair tips, are designed to wash out of hair. The more you shower and shampoo your hair, the quicker the color will fade. You can preserve your dyed tips by skipping wash day and shampooing your hair as little as possible.
If you want, you can invest in a dry shampoo to keep your hair fresh between washes.
Decrease Hot Water Usage
Hot water has a tendency to open the cuticles of your hair, allowing pigments to slip out. This is why immediately after dyeing, you should use cool water to rinse in order to prevent too much pigment lose. As you maintain your dyed hair tips, you might want to consider using cool or lukewarm water to wash your hair, as this will prevent too much color loss.
Hydrate Your Hair
Any kind of bleaching or hair dye can be drying to hair, so it is important to nourish and hydrate your hair in the weeks after dyeing it. This can be done with homemade or store-bought deep conditioning treatments or hair oils, as these products will strengthen your hair and replenish any missing moisture.
How Long Will Dyed Tips Last?

How long your dyed hair tips last depends on how you maintain them and the type of color you use. With a low amount of shampooing, semi-permanent color can last around 6 weeks in your hair before it starts to completely fade. It is at this point that you can choose to recolor your hair or let it fade all the way out.
How to Get Rid of Dyed Hair Tips
If you’ve colored your hair tips and decided that you dislike the style, there are a few ways to remove the color.
Color Remover
After you’ve dyed your hair, if you decide that you dislike the color and want it out immediately, you can use a color remover. A color remover will strip your hair of the pigment you just put into it and bring your hair back to being the color it was before it was dyed (either your natural color or the bleached color you had before putting in the dye).
Wait It Out
You most likely will be using semi-permanent dye to color your hair. This dye fades within 6 weeks if you aren’t washing it often, but can fade as early as 3 to 4 weeks if you use shampoo on it regularly. Waiting for the dye to fade is probably the simplest way to get rid of dyed hair tips.
If you can live with the dyed tip color for a little while, try using hot water and shampoo every few days to encourage the color to completely fade from your hair as fast as possible.
Cut Your Hair
If you’ve bleached your hair before dyeing the tips (bleaching is permanent and can’t be removed) or if you don’t mind losing a few inches of hair, you can cut off the dyed section. This method is probably the easiest way to get rid of dyed tips, but it is not recommended to do this at home by yourself. Visit a salon and ask them to trim up your hair, removing the dyed part of your hair ends.
The Benefits of Dyeing the Tips of Your Hair
You may not have realized it, but dyeing the tips of your hair can have several different benefits for your hair!
Simple Way for Style Change
If you to change up your hairstyle but are worried about committing to a more long-lasting, higher-maintenance full head of hair dye, only dyeing the tips of your hair can be a great compromise. This allows you to add a splash of uniqueness into your style without the more arduous and expensive process of dyeing all of your hair.
Great for All Ages
Because it is relatively easy to dye the tips of your hair, it is a good option for all ages. If you have children that want to try out colored hair, but you don’t want to expose them to a serious amount of hair dyeing chemicals, only dyeing the tips of the hair can be a fun way for younger people to express themselves.
Easy to Get Rid Of
Dyeing the tips of your hair allows for a little bit of freedom when it comes to removing the dye. If you hate the color or the way it turned out, you can simply cut off the ends of your hair (if you don’t mind losing a few inches, that is). It is also easy to hide the ends of your hair or wait for them to fade, and can be much less noticeable than a full head of hair dye.
Less Hair Damage
Dyeing your hair can be a damaging process, especially if you need to bleach your hair before dyeing it. Concentrating your efforts on just the tips of your hair can result in less overall hair damage, since you won’t be bleaching or dyeing the rest of your locks.
Perfect for Experimentation
If there’s a style you want to try out but aren’t sure about how it will look on you, you can easily experiment by dyeing the tips of your hair. Doing this can let you try out different colors and styles and help you decide if you want to commit yourself to a full head of hair that is dyed a particular color.
Change up Your Style

Dyeing the tips of your hair is an easy way to change up your style without much consequence. It can help you test out styles you might want to wear on all of your hair and can be a good choice for younger people who want to experiment with hair colors.
In order to dye the tips of your hair at home, make sure you understand the process and are fully prepared with all of your needed materials before starting. This will ensure that you can dye the tips of your hair as easily and stress-free as possible.
