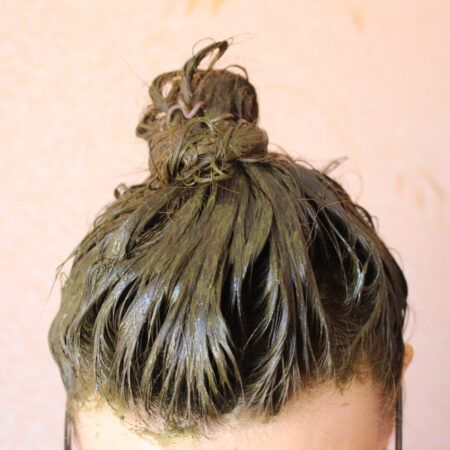
Whether you’ve got fine, fragile strands or thick, luxurious curls, all hair types need regular moisturization to maintain health and shine. You don’t need to splurge on those expensive salon treatments, though. You can keep your locks glossy and supple, all while using common kitchen ingredients.
In this guide, you’ll find five nourishing DIY hair moisturizer recipes for different hair types and then get some detailed information on what each ingredient does for your hair. You’ll also find a step-by-step guide for applying your DIY hair moisturizer!
Fine Hair: Honey Lemon Wash
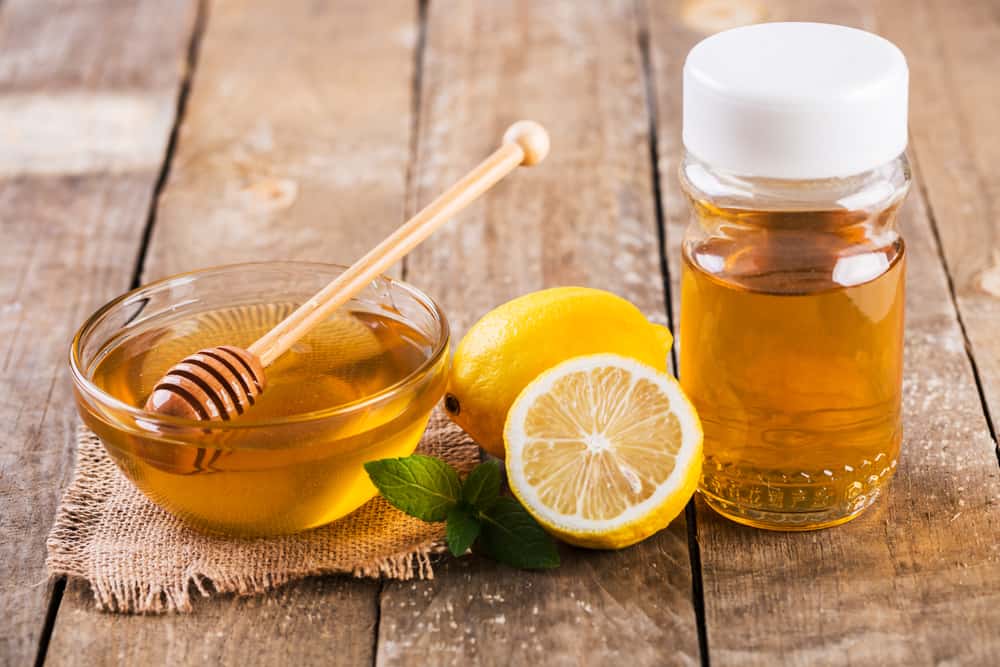
Honey, lemon, and egg combine for the ultimate fine hair treatment. Honey moisturizes without making your hair greasy or flat. Lemon clarifies and gets rid of the excess buildup that weighs down your strands. Then, the egg strengthens your locks to prevent breakage so your hair can become fuller and stronger!
- ½ cup honey
- 2 tablespoons lemon
- 1 egg
Natural Hair: Honey Yogurt Mask
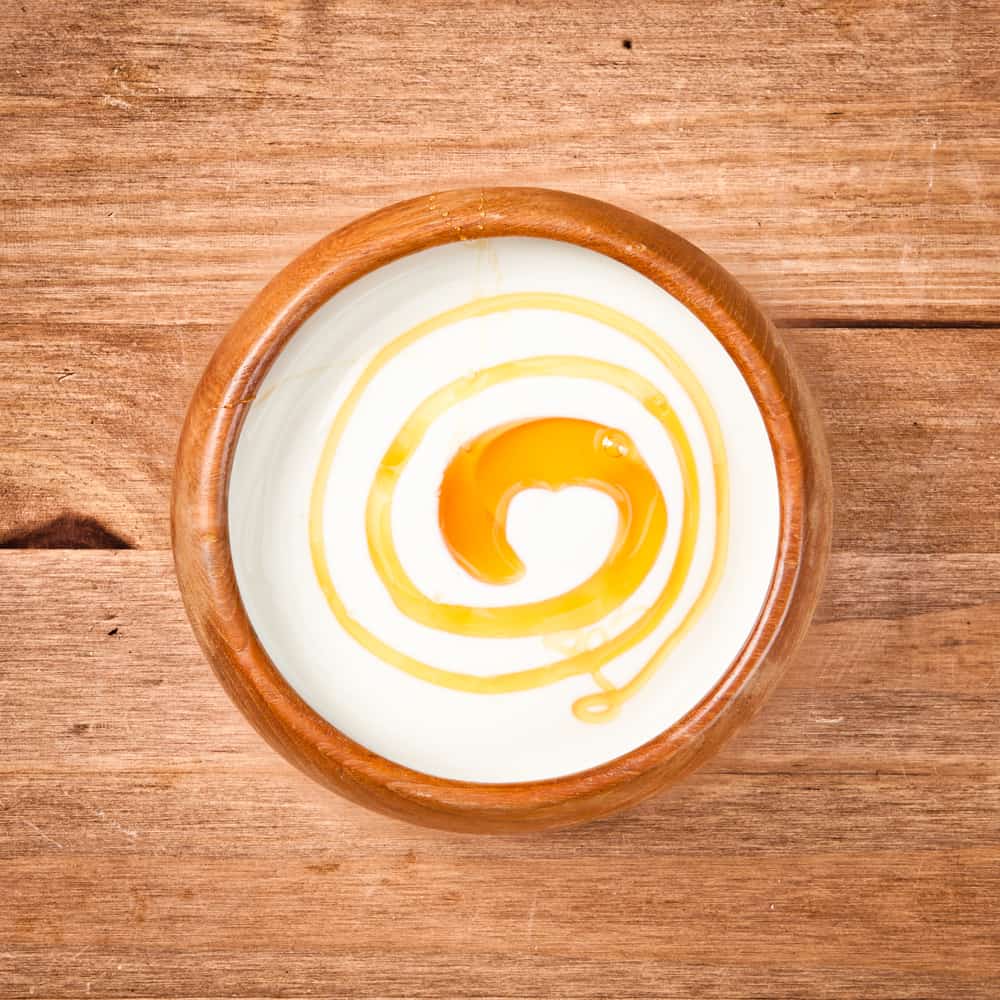
This rich yogurt-based mask provides deep hydration while also softening and smoothing your locks to control frizz and add shine. Honey and olive oil provide double the moisturizing power while yogurt softens and strengthens your locks.
- ½ cup yogurt
- ½ cup olive oil
- ¼ cup honey
Brittle or Damaged Hair: Banana and Egg Mask

This banana and egg mask is ideal for repairing and strengthening damaged or chemically treated hair. With regular treatments, your locks will be softer, glossier, and less prone to breakage thanks to the combination of protein-rich egg and nourishing banana and olive oil.
- 1 banana
- ¼ cup olive oil
- 1 egg
Dry, Itchy Scalp: Tea Tree and Castor Oil Treatment
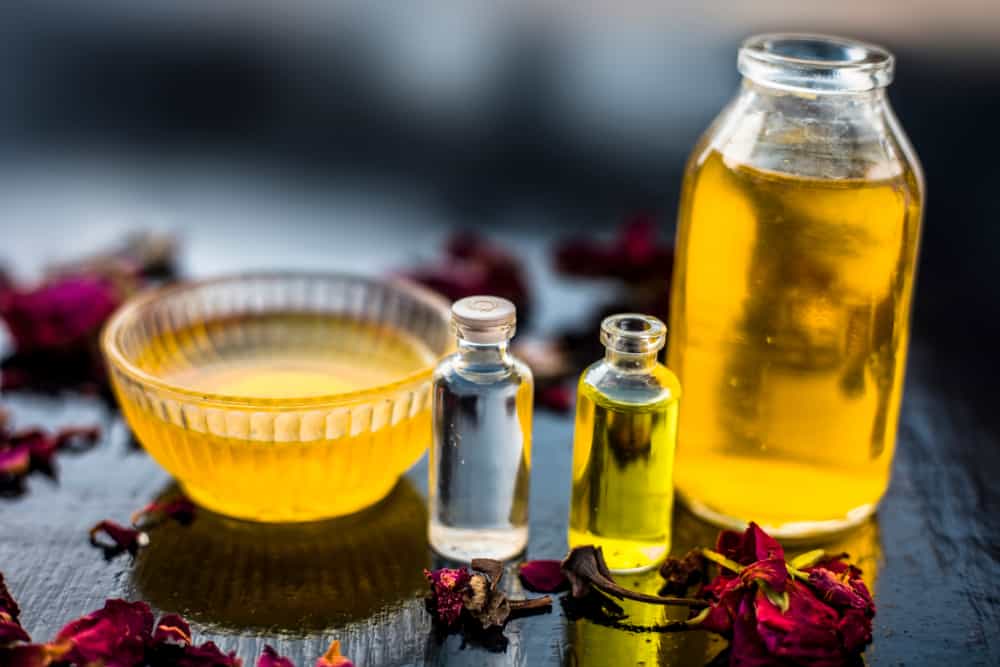
Whether you’ve got psoriasis or your scalp is just extra dry and itchy, you need a hair moisturizer that can heal a flaky and irritated scalp while also hydrating your locks. This special blend of castor oil, tea tree oil, and yogurt will do the trick!
- ¾ cup castor oil
- ¼ cup yogurt
- 1 teaspoon tea tree oil
Straight Hair: Milk and Honey Wash
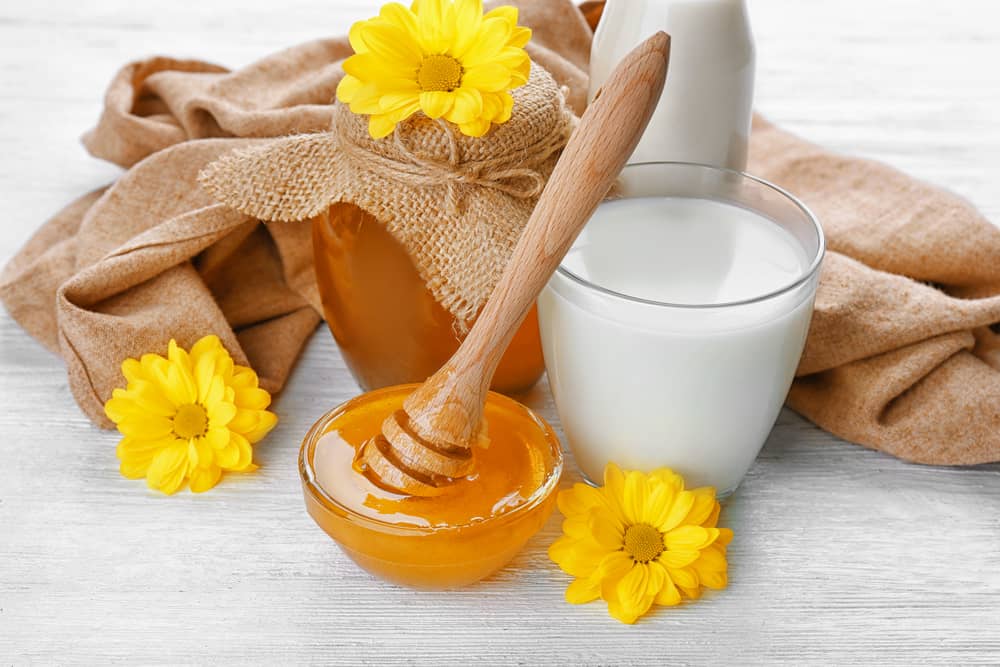
This formula has just enough vinegar to smooth down your strands and a lightweight moisturizer that will add shine to your hair without weighing it down. The clarifying powers of vinegar can also help restore life to limp roots, giving your straight hair a little boost of volume.
- ½ cup milk
- ¼ cup honey
- 1 tablespoon apple cider vinegar
DIY Hair Moisturizer Ingredient Index
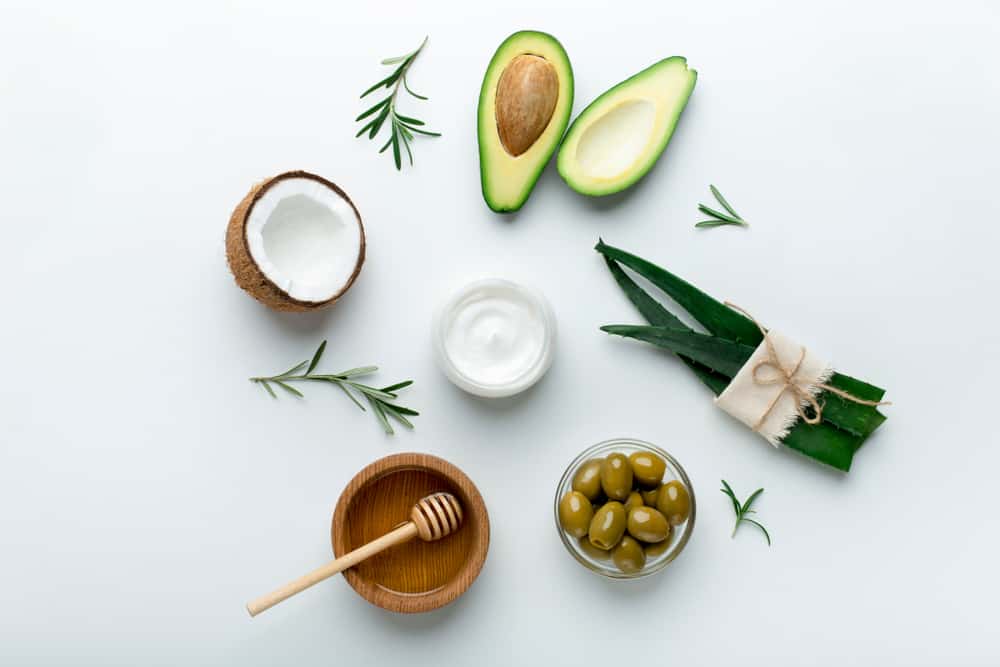
The recipes above each use a unique combination of hydrating, clarifying, and strengthening ingredients to help give your hair the precise balance of nourishment that it needs. If you’d like to build your very own recipe, make sure you’re achieving the right balance for your hair’s needs.
To help you decide which ingredients to use, here’s a brief overview of the benefits of each one you saw in the recipes above:
Hydrators
Hydrators help moisturize and soften hair. They should be the main ingredient in any formula for curly or dry hair. If you have fine hair, though, stick to lighter weight options like honey and banana.
Honey
Honey is one of our favorite moisturizers because it’s so easy to work with. It spreads easily when warm but also grips your strands better than oil does, so it can hydrate your hair more evenly.
Even if you need the deeper hydration of an oil for your dry hair, we recommend pairing that oil with honey to help it cling to your locks better.
Beyond its ease of use, honey also acts as an antimicrobial so it can help get rid of impurities. If you need to cleanse your hair but don’t want to risk overdoing it with a clarifier, honey offers a practical compromise.
Olive Oil
Olive oil is affordable, readily available, and incredibly effective as a hair treatment. It provides deep, lasting hydration for your locks. In fact, if you don’t want to mess around with any complicated recipes, you can just massage pure olive oil directly into your hair and let it sit for 30 minutes or so.
For thick or natural hair, use pure olive oil as a leave-in conditioner by combing a light layer of the oil into the ends of your hair. For fine hair, olive oil is still beneficial, but you shouldn’t use it as a leave-in treatment, and you should apply it more sparingly.
Castor Oil
Castor oil provides similarly long-lasting hydration results as olive oil so it’s another great option for especially dry hair or for curly hair. However, unlike olive oil, it’s also been shown to treat some forms of dandruff.
If your dandruff is the result of seborrheic dermatitis, castor oil can help treat and prevent flare-ups of those red, scaly patches that are causing your dandruff. When using it to treat dandruff, apply it directly to the scalp, paying special attention to any inflamed patches.
Banana
Banana offers a lot of benefits for your hair. is naturally high in silica, a mineral that helps strengthen collagen bonds in your hair. It also contains antioxidants and other nutrients that can repair damage to the scalp and soften your strands.
It’s a great lightweight hydration option that won’t make your hair stringy or limp. With that said, it may not offer enough hydration on its own for especially dry hair or for natural hair that needs lots of extra moisturization.
Clarifiers
Clarifiers help break down impurities, dissolve dead skin, and restore shine to dull strands. They’re an essential ingredient in treatments for fine or straight hair because they get rid of excess oil and help smooth down strands. They can also be beneficial for dandruff, scalp psoriasis, or general itchiness.
For these hair types, you can also do a pure clarifying treatment where you just spritz lemon or vinegar over your hair, paying special attention to your scalp. However, if it’s not diluted with honey or oil, you should rinse it out after 15-20 minutes and avoid sunlight while it’s in your hair.
If you have curly hair, use these ingredients sparingly and never as the main ingredient in your moisturizer. Your hair needs hydration above all, and the acidity of these clarifiers can further dry out your already dry curls.
Lemon
Lemon juice is a great clarifier that also provides a high dose of antioxidants to repair damage and heal your scalp. If you use a lot of product throughout the week for styling, doing a weekly hair mask with lemon juice can help dissolve any excess product and restore your hair’s natural radiance.
Make sure to avoid sunlight when using it, though. Lemon juice paired with sunlight can lead to a mild bleaching effect. However, if you’d like to use lemon to brighten up your locks a bit on purpose, go ahead and soak up some sun!
Apple Cider Vinegar
Apple cider vinegar is an effective yet gentle clarifier that can help clear away impurities while controlling oil production. It’s also antimicrobial and anti-inflammatory, which makes it a must-have option for any sensitive scalps out there.
If you’re dealing with an itchy, flaky, or oily scalp, an apple cider vinegar treatment can work wonders. Make sure to pair it with honey or essential oils to help manage the pungent vinegar scent, though.
Tea Tree Oil
Tea tree oil is a popular beauty treatment for your face as well as your hair. It’s loaded with antioxidants that can heal damaged skin, so it’s ideal for irritated scalps. If you’ve got dandruff, psoriasis, or just an itchy, flake scalp, make sure tea tree oil is in your DIY hair moisturizer.
It can also control excess oil, making it a helpful addition in formulas for greasy or fine hair that tends to look flat and lifeless.
If you are using tea tree oil, make sure it’s well diluted. In its concentrated form, it can be really potent, which can irritate your scalp. As a general rule of thumb, use no more than 1 part tea tree oil for every 10 parts of other ingredients. For example, use a maximum of 1 ½ tablespoons of tea tree oil for every 1 cup of olive oil.
Strengtheners
Strengtheners help repair and strengthen weakened strands. They deposit proteins into your follicles, which helps minimize breakage. This makes them a must-have in any recipe for damaged or chemically treated hair. They’re also helpful for curly hair, which can be prone to breakage.
For fine hair, they make a good alternative to hydrators if you’re worried that oils will weigh down your thin strands too much. However, if you’re using them without any hydrator at all, opt for yogurt or milk so that you’re still getting enough fatty acids and water-content to moisturize your hair.
Yogurt
Yogurt is high in protein and minerals that help strengthen your hair and prevent breakage. It also has other helpful nutrients like vitamin A and biotin that add shine to your strands. Lactic acid will help soften and smooth hair, while probiotics help repair damage and encourage hair growth.
It’s a great addition to hair that’s prone to breakage or that needs frizz-control. Just make sure to get plain, full-fat yogurt to maximize the benefits without putting any unnecessary additives in your hair.
Egg
The high protein content in eggs will bind to hair follicles, making your strands extra strong. Other benefits of eggs for your hair include improved elasticity, added shine, and a softer, less frizzy texture.
Using eggs in your hair moisturizer can get messy, though. The whites of the egg are runny, so if you apply too thick of a layer to your scalp, it can end up running down your face. While egg also makes a great face mask, it can be annoying to have egg dripping down your forehead while you’re waiting for your hair treatment to work.
To avoid this mess, use a brush or comb to apply an egg-based moisturizer to your hair so that you can evenly but thin coat to all your strands so that it won’t drip as much.
Milk
Milk offers many of the same benefits as yogurt but without the probiotics. It’s full of protein, lipids, calcium, and other nutrients that strengthen hair while making it soft and pliable. While yogurt offers more benefits, milk is a little easier to work with.
You can saturate your entire head of hair more easily so it’s easier to ensure that all of your strands are getting the nourishment they need from your moisturizer. Just make sure to get whole milk.
5 Steps for an Effective DIY Hair Moisturizer Session
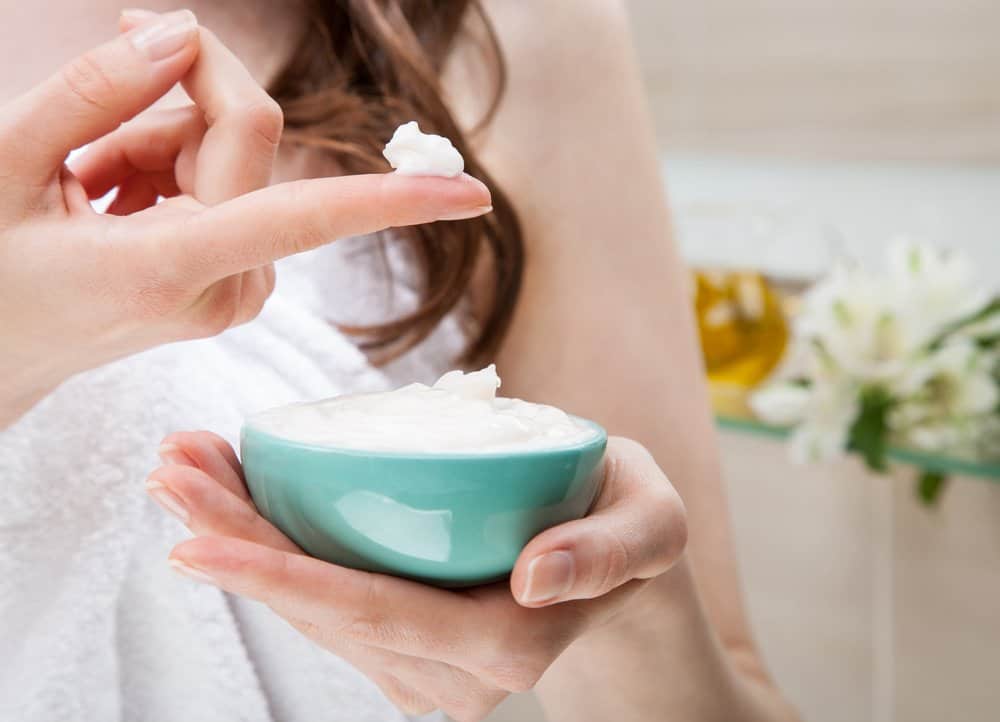
Getting the formula right is just the first step to hydrating and nourishing your locks. Making sure that formula can actually work the way you need it to is a matter of technique. You need to mix it, get it to the right temperature, apply it correctly, leave it in for the right amount of time, and rinse it out thoroughly.
1. Emulsify the Ingredients
When combining the ingredients together, you want to whisk or blend them until you have an emulsion. This just means that all the ingredients are so thoroughly mixed that there isn’t any clear separation between them.
If they aren’t fully incorporated, you’ll end up with more oil in some sections and more vinegar or lemon in another, creating uneven results in your hair.
2.Warm Your Moisturizer First
A moisturizing formula will work even better if it’s been warmed up and, ideally, kept warm the whole time it’s on your hair. The warmth will help expand the hair follicles and pores on your scalp, allowing more of the hydrating formula to soak in.
You don’t want sizzling hot oil or boiling milk, of course. Instead, place the mixture in a jar or bowl and setting it in a hot water bath for a few minutes. It should be very warm but still comfortable to touch. Test it by placing a small dot on the inside of your wrist. If it’s not noticeably warmer than your skin, it’s not ready. If it burns your wrist, it’s too hot.
To keep it warm while it’s in your hair, take a steamy, relaxing bath while you let the moisturizer do its work or sit under a bonnet dryer at its lowest setting.
3. Start at the Ends
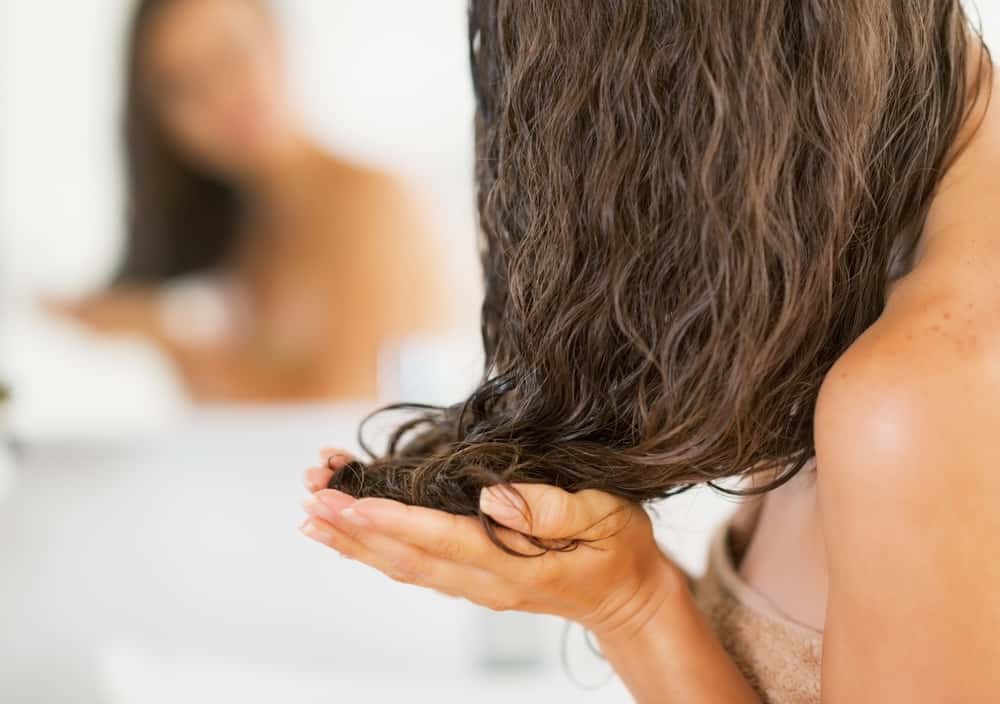
Regardless of hair type, you want to apply a hair mask or conditioner from the ends up. For curly or natural hair types, this is because the ends are often the driest section of your hair. Natural oils from your scalp struggle to work their way down the shaft due to the shape of your locks.
For fine hair, this is because a moisturizer, no matter how lightweight, will still weigh down your roots. Applying too thick a layer of moisturizer to your roots will leave your hair looking limp and lifeless instead of lush and radiant.
The only exception to this rule is a scalp-specific treatment. If you’re treating dandruff or another scalp condition, you should start at your roots. However, in this case, you’d also avoid any heavy moisturizers, and you wouldn’t leave the treatment on for longer than 20-30 minutes.
4. Leave It in Your Hair for the Right Amount of Time
For a conditioning treatment to work, you need to actually let it sit in your hair long enough. The dryer your hair is, the longer you want to leave it in. And, regardless of hair condition, you’ll also want to do a deep conditioning session on a regular basis.
That “regular basis” can be anywhere from once a week (for natural hair) to once a month (for fine hair). Choose a schedule that allows your hair to maintain consistent shine and softness without weighing it down or making it greasy.
When you do a deep conditioning session, leave the moisturizer in your hair for at least 30 minutes. Grab a book, turn on the TV, or call up a friend to help pass the time while your DIY hair moisturizer does its job.
Here are some factors to keep in mind for these longer sessions:
- If your hair moisturizer has a clarifying ingredient in it, you don’t want to leave it in your hair for more than 20-30 minutes. If you leave these ingredients in too long, they can start to dry your locks and irritate your scalp.
- If you want a hair moisturizer that you can leave in for 4+ hours (or without rinsing at all), stick to plant-based oils that can soak into your hair and scalp. Avoid clarifiers and avoid ingredients like yogurt or banana that create a thicker paste that can’t absorb fully.
- If you want the best of both worlds, do a 20- to 30-minute clarifying treatment and follow it up with a leave-in formula made up of plant-based oils.
5. Rinse Thoroughly
Unless you’re doing a leave-in treatment, you need to rinse out your hair moisturizer thoroughly so that it doesn’t harden or leave your hair feeling greasy and stringy. Use lukewarm—not hot—water, so that you can rinse out the excess moisturizer without stripping away what’s been deposited into the shaft of each strand.
Pay extra attention to your scalp and roots while rinsing. A little extra oil on your ends won’t be a disaster, but excess oil on your scalp can clog pores and make your hair look flat.
Final Thoughts
Whether you try out one of our recommended recipes or blend up your very own formula, make sure you’re using the right technique to get the best results. Above all, have fun experimenting with different ingredients and recipes until you find the one that leaves your hair silky smooth, glossy, and frizz-free!
