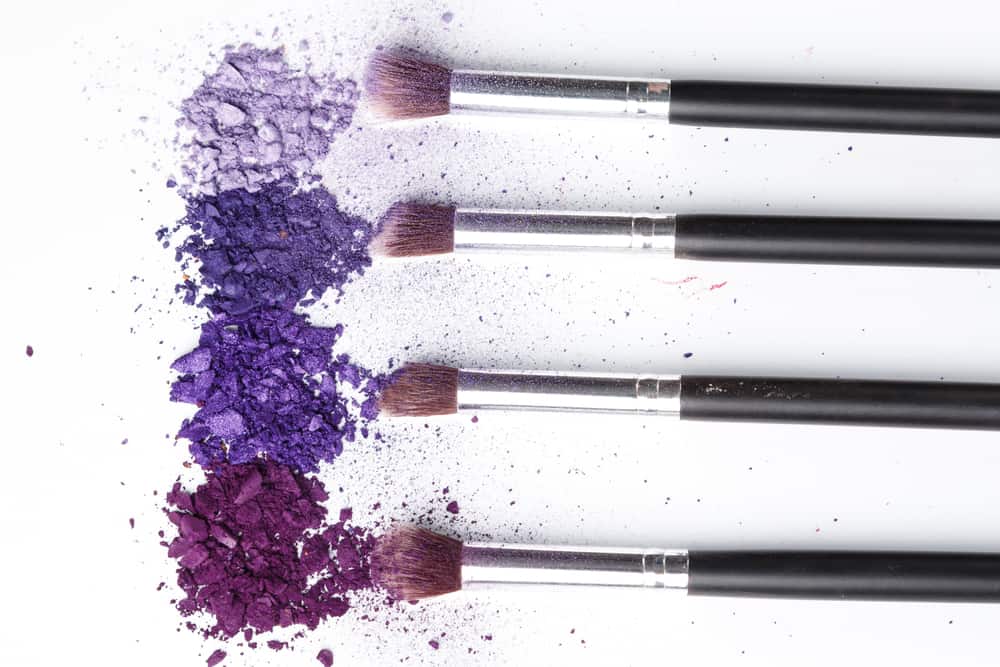
Experimentation with makeup is an artform is on the rise, and there are countless influencers on Instagram, YouTube, and TikTok showing viewers their latest creations!
If these fun tutorials have inspired you to dust off your makeup brushes and join in on the fun, you may have wondered about how you can create your own unique looks without going bankrupt in a MAC store.
Makeup users who are on a limited budget (or who have specific skin sensitivities) don’t have to miss out on the fun! DIY-ing your own makeup is a popular trend too! In this article, we’ll teach you the basics on how to make your own pressed eyeshadow.
What You’ll Need to Make Your Eyeshadow

Before we get into the “how to” portion of this guide, here are the basic things you’ll need to have in order to make your own eyeshadow from scratch.
- Disposable Gloves
- Rubbing Alcohol
- Eyeshadow Tins
- Color Pigments: Mica for shimmer shadow or oxide pigment for matte shadow
- Liquid Preservatives (Optional)
- Aloe Vera Gel
- Vegetable Glycerine
- Eyeshadow Presser: You can use a coin, or buy one online
- Mixing Bowl
- Measuring Spoons
- Napkins or Paper Towels
Choosing Your Eyeshadow Ingredients
Here are some details to keep in mind when choosing the ingredients for your DIY eyeshadow, broken down by base, binders, and pigments.
The Eyeshadow Base
You will need a base to make your eyeshadow. This is a mixture of colorless ingredients that will help the shadow adhere smoothly to your skin upon application. They also aid in oil absorption.
If you are new to DIY eyeshadow, makeup experts recommend that you purchase a ready-made eyeshadow base. These will contain all the basic ingredients you need in an eyeshadow before adding in your desired colors.
Binders
Binders are a must-have ingredient when making your own eyeshadow. Otherwise, your shadow will not press together properly. Glycerine is the most common binder ingredient used.
It is important to note that the eyeshadow will not last as long with a glycerine binder. However, you can slow the decay of an eyeshadow made with glycerine by adding a fews drops of preservative. This will extend its shelf life by a couple of months.
There are also other types of natural ingredients you can use as a binder other than glycerine. Jojoba oil, for example, is an excellent option.
Color Pigments
Mica powders can be used to color your homemade eyeshadow, but they tend to have a little shimmer to them. If you want a more matte look, color or oxide pigments are a better option.
Keep in mind that color pigments come through more strongly than mica powders, so it’s best to use these sparingly. Additionally, it is important to note that oxide pigments are more difficult to mix than color pigments. That’s because they need to be ground very finely to reveal their colors when mixing together two or more pigments.
How to Make Pressed Eyeshadow
Once you’ve got all of your ingredients on hand, you can move on to the fun part: actually making your very own DIY eyeshadow.
Clean Your Workspace!
It is important to start by cleaning your workspace. This will ensure that no bacteria will get into your eyeshadow mixture. Before handling any of the items you’ll be working with, be sure to wash your hands and put on your disposable gloves. Next, make sure that your tools (i.e. measuring spoons, mixing bowl, presser, etc.) are properly cleaned and dry before use. Sanitize these items with rubbing alcohol.
Choose and Mix Your Pigments
In your mixing bowl, add in the colors you would like to mix to create the shade you want. You will want to add a small spoonful of rubbing alcohol into the bowl next to make it easier for you to mix the eyeshadow.
Pour in Additives
Add in three small drops of glycerine, a small squeeze of aloe vera gel, and 2-3 drops of preservative (optional) to the mixture. Stir together until the mixture is completely combined.
Set In Eyeshadow Tin
Pour the mixture into your eyeshadow tin of choice. When all of the mixture is in the tin, lightly tap the bottom of the tin against a hard surface to flatten out the mixture. Let it sit for 30 minutes to an hour, so most of the alcohol can evaporate on its own but while it’s still malleable.
Use Your Presser
Place the eyeshadow tin on a flat surface and lay a clean paper towel on top of it. Use the presser to press down on the area where the paper towel is covering the top of the eyeshadow tin. This will help press out any excess rubbing alcohol from the eyeshadow mixture before you put it in your palette to dry and set.
To see this process in action, check out this video.
FAQ About Making Pressed Eyeshadow
What Is the Main Ingredient in Eyeshadow?
You will need a filler like mica, talc or kaolin clay to make eyeshadow. To ensure that the eyeshadow will stick to your skin, you’ll need to use a binder like magnesium or zinc compounds.
Can I Use Anything Other Than Color Pigments to Create Eyeshadow Colors?
Yes! You can use spices and other natural ingredients to create different colors. Just remember that they will spoil a lot more quickly than pigments:
- Brown: Cacao
- Yellow: Turmeric
- Red: Red Clay
- Pink: Beet Powder
- Orange: Saffron and Beet Powder
- Green: Spirulina or Green Clay
- Black/Grey: Activated Charcoal
- White: White Clay
How Long Will My Eyeshadow Last?
So long as you are sanitary while using your makeup (i.e. cleaning your brushes regularly, washing your hands and face before application, etc.), your eyeshadow should last for approximately 4-6 months. If you use any natural mix-ins, that may reduce the shelf life down to about a month, so pay close attention to any changes in smell.
Final Thoughts
Are you ready to become the most fabulous chemist? Now that you know a little more about how to make your own pressed eyeshadow, you’ll be on your way to creating your own fun, unique makeup looks! Your eyeshadows will be unique, custom-made just for you, and you’ll feel incredible every time you use them.
If you like the idea of DIY eyeshadow, you may want to try to make other cosmetics all by yourself! Check out our guides to making your own DIY Face Mist or Face Mask, so you can feel truly pampered.
